A 3 Phase Isolator Switch is an essential component in electrical systems, ensuring safety and efficient power control. Proper wiring of the switch is crucial for preventing electrical hazards and ensuring a seamless flow of electricity. In this guide, we will walk you through the correct method to install and wire a 3 Phase Isolator Switch while considering essential safety precautions.
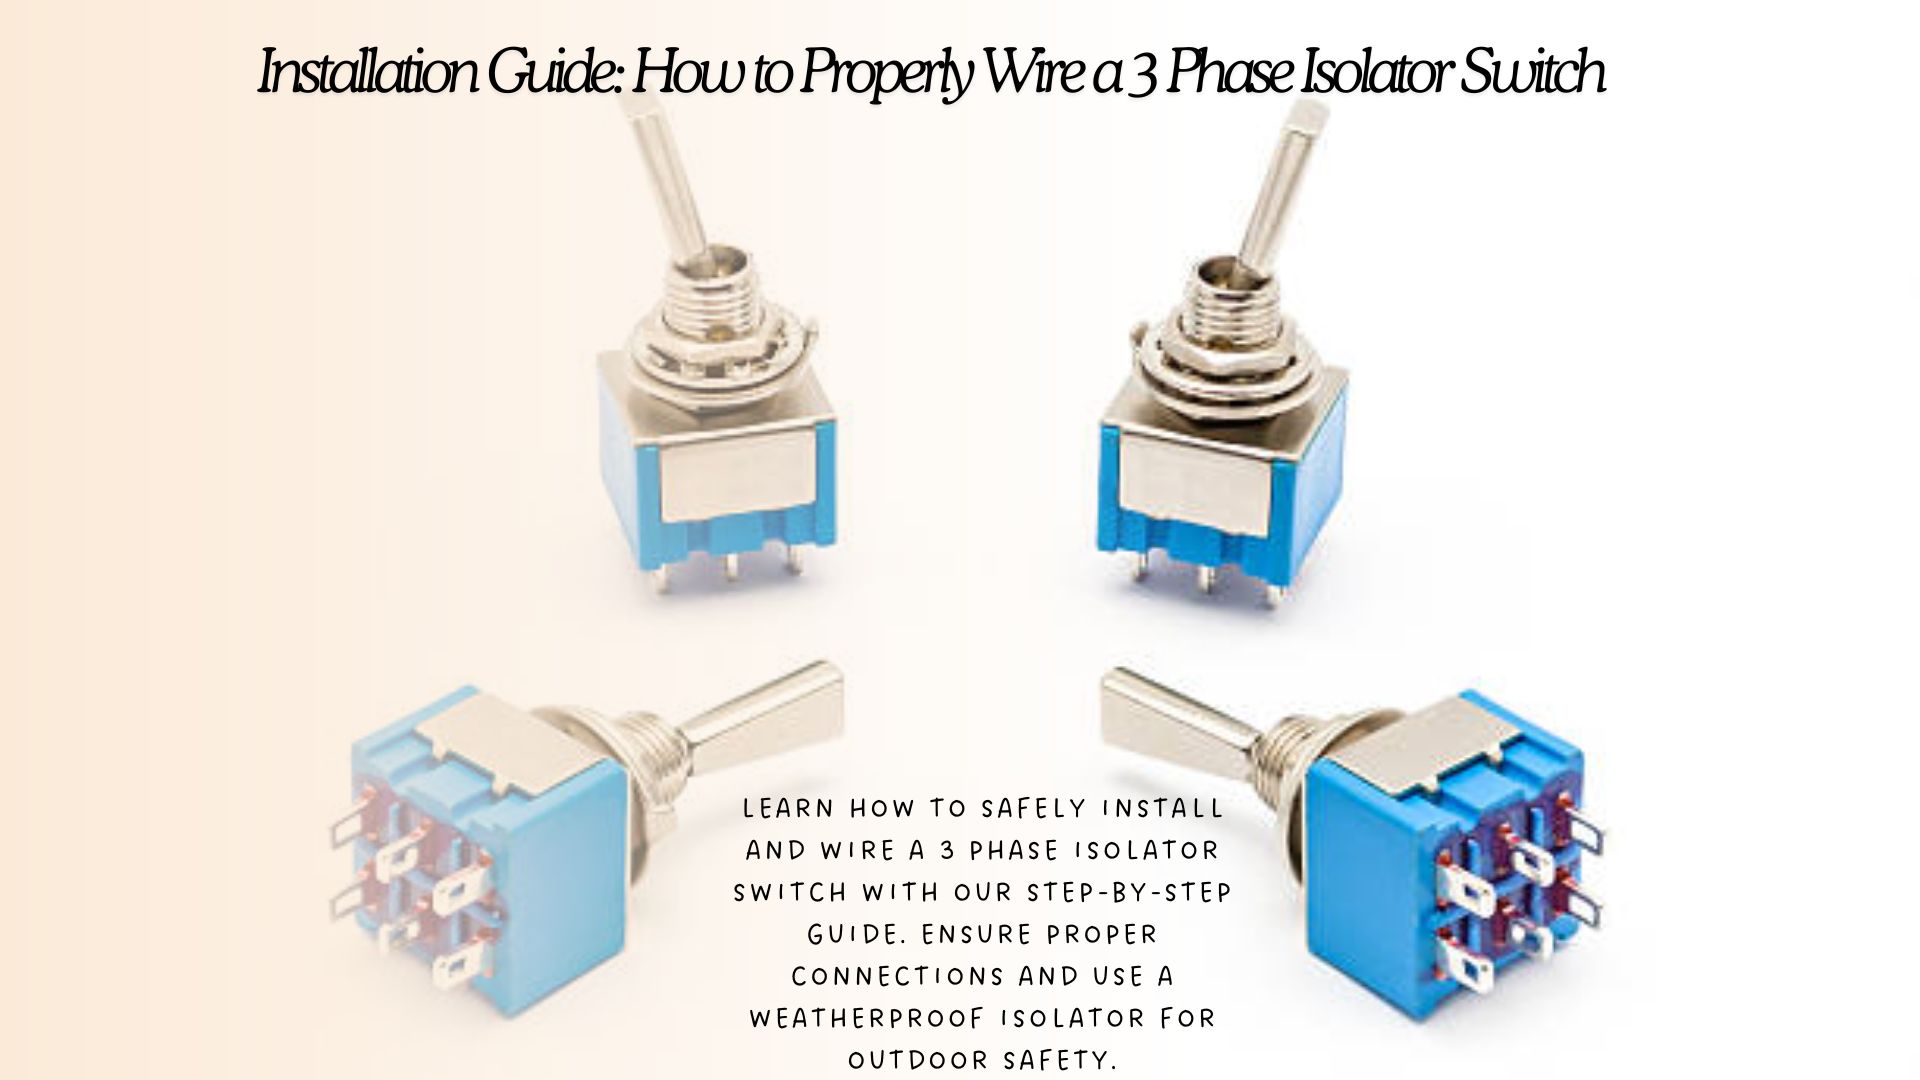
How to Properly Wire a 3 Phase Isolator Switch
Learn how to install and wire a 3 Phase Isolator Switch safely and efficiently. This step-by-step guide covers wiring, safety precautions, and the importance of a Weatherproof Isolator for outdoor use. Ensure secure connections and optimal performance with expert insights.
Understanding the 3 Phase Isolator Switch
A 3 Phase Isolator Switch is used to disconnect power from electrical circuits, ensuring safety during maintenance or emergency shutdowns. It is commonly installed in industrial, commercial, and residential electrical systems. These switches come in various designs, including the Weatherproof Isolator, which is ideal for outdoor installations where protection from environmental elements is necessary.
Tools and Materials Required
Before starting the installation, gather the following tools and materials:
- 3 Phase Isolator Switch
- Screwdrivers (Flathead and Phillips)
- Insulated pliers
- Voltage tester
- Electrical insulation tape
- Wire cutters and strippers
- Electrical conduit (if required)
Step-by-Step Guide to Wiring a 3 Phase Isolator Switch
Step 1: Safety Precautions
Before working with electrical wiring, ensure that you follow these safety measures:
- Turn off the main power supply.
- Use a voltage tester to confirm that there is no electrical current in the wires.
- Wear insulated gloves to prevent electric shocks.
Step 2: Selecting the Right Location
Choose a location that is easily accessible while ensuring the switch is mounted on a firm surface. If installing a Weatherproof Isolator, ensure it is placed in a sheltered area or properly sealed against environmental exposure.
Step 3: Wiring Preparation
Identify the incoming and outgoing power supply wires. A 3 Phase Isolator Switch typically consists of three input terminals (L1, L2, L3) and three output terminals that connect to the load.
Step 4: Connecting the Input Wires
- Strip the insulation off the ends of the input wires (Live, Neutral, and Earth).
- Insert the three-phase live wires (L1, L2, and L3) into the designated input terminals on the isolator switch.
- Secure the connections using a screwdriver to tighten the terminal screws.
- Connect the neutral wire to the appropriate terminal if required by the circuit design.
- Attach the earth wire to the grounding terminal for added safety.
Step 5: Connecting the Output Wires
- Take the output wires that will run to the electrical load.
- Connect them to the corresponding output terminals on the 3 Phase Isolator Switch (L1, L2, L3 output terminals).
- Tighten all terminal screws to ensure firm and secure connections.
Step 6: Insulation and Cable Management
After completing the wiring, insulate all exposed wires using electrical tape. Secure cables neatly using cable ties or conduits to avoid clutter and potential damage.
Step 7: Testing and Final Checks
- Turn on the main power supply.
- Use a voltage tester to verify that electricity is flowing correctly through the isolator switch.
- Switch the 3 Phase Isolator Switch on and off to confirm it properly disconnects and restores power to the circuit.
- If installing a Weatherproof Isolator, check for any gaps or loose fittings that could allow moisture to enter.
Common Mistakes to Avoid
- Incorrect Wiring: Ensure that the input and output wires are correctly placed to prevent power failures or electrical hazards.
- Loose Connections: Loose terminals can cause overheating and potential fire risks.
- Skipping Grounding: Always connect the earth wire to avoid electrical shocks and ensure system safety.
- Ignoring Load Capacity: Choose an isolator switch that matches the electrical load to prevent overloading.
Importance of Using a Weatherproof Isolator
For outdoor installations or damp environments, a Weatherproof Isolator is highly recommended. These isolators are designed to withstand extreme weather conditions, providing protection against moisture, dust, and UV exposure. When installing a Weatherproof Isolator, ensure that the enclosure is properly sealed and secured to maintain its durability.
Conclusion
Installing and wiring a 3 Phase Isolator Switch requires careful planning and adherence to safety protocols. Whether you are using a standard switch or a Weatherproof Isolator, ensuring secure connections and proper grounding is crucial for system efficiency and safety. Always double-check your wiring, follow manufacturer guidelines, and consult a certified electrician if needed for a flawless installation. Read our full blog on Top 5 Led Batten lights .