Installing a doorbell no longer requires drills, screws, or permanent wall damage. Whether you live in a rental property, an apartment, or simply want to avoid drilling into brick or concrete, there are several effective ways to install a doorbell without drilling. Modern wireless technology and strong adhesive mounting solutions make it possible to complete the installation quickly and cleanly.
This guide explains how to install a doorbell without drilling, which methods work best, and how to make sure your doorbell stays secure over time.
Why Choose a No-Drill Doorbell Installation?
Many people prefer a no-damage installation because it protects walls, door frames, and exterior surfaces. Renters often need non-permanent solutions to avoid violating lease agreements, while homeowners may want to preserve finishes or avoid unnecessary repairs.
Another major advantage is simplicity. Installing a doorbell without drilling requires no tools, no professional help, and very little time. It also allows for flexibility, making it easy to reposition or remove the doorbell later without leaving marks or holes.
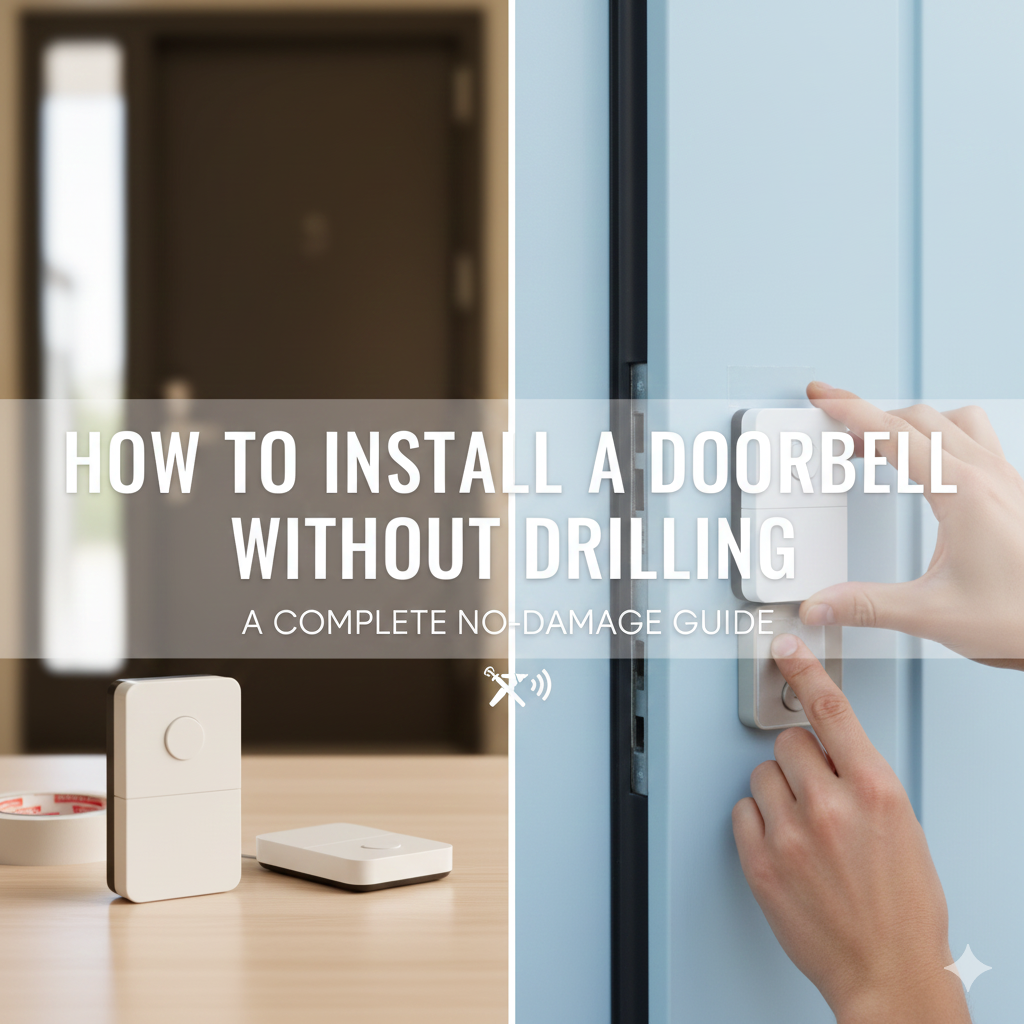
Doorbells Suitable for No-Drill Installation
Not every doorbell requires wiring or screws. Wireless doorbells and battery-powered models are ideal for no-drill installation because they operate independently of household wiring. Many smart wi-fi video doorbells are also designed with adhesive mounts or compatible no-drill brackets, making them suitable for renters and temporary setups.
As long as the doorbell does not require hardwiring, it can usually be installed without drilling.
Preparing for Installation
Before installing your doorbell, choose a flat surface near the door at a comfortable height, usually around chest level. Clean the surface thoroughly using rubbing alcohol or a mild cleaner to remove dust, grease, or moisture. A clean surface is essential for proper adhesion and long-term stability.
Once the surface is clean and dry, you can select the installation method that best suits your doorbell and door type.
Installing a Doorbell Using Adhesive Mounting Tape
Adhesive mounting tape is the most common and easiest way to install a doorbell without drilling. Heavy-duty double-sided tape, such as industrial-grade adhesive, provides strong support for lightweight and battery-powered doorbells.
To install, apply the adhesive to the back of the doorbell or its mounting plate. Press the doorbell firmly against the chosen surface and hold it in place for at least 30 seconds. For best results, allow the adhesive to cure for several hours before using the doorbell. This method works well on smooth surfaces such as painted walls, metal, wood, or UPVC door frames.
Using No-Drill Mounting Brackets
No-drill mounting brackets are designed specifically for smart and wireless doorbells. These brackets either clamp onto the door frame or attach using strong adhesive, eliminating the need for screws.
Installation typically involves attaching the doorbell to the bracket first, then securing the bracket to the door or frame. This option provides additional stability and is especially useful for heavier smart doorbells that include cameras and sensors.
Over-the-Door Mount Options
An over-the-door mount is another no-damage solution, especially suitable for apartments. These mounts hook over the top or side of the door and hold the doorbell securely on the outside. Because they do not require adhesive or drilling, they are easy to remove and reposition.
This method is ideal for temporary installations or for those who want a completely reversible setup.
Outdoor Installation Considerations
If the doorbell will be installed outdoors, it is important to use weather-resistant adhesive or mounting solutions. Exposure to rain, heat, or cold can weaken standard adhesive over time. Always check that the mounting tape or bracket is rated for outdoor use and compatible with your local climate.
Avoid installing adhesive mounts during extreme weather conditions, as this can affect bonding strength.
Ensuring Long-Term Stability
To keep your doorbell securely mounted, avoid rough or uneven surfaces and ensure the adhesive is applied correctly. Pressing firmly during installation and allowing sufficient curing time greatly improves durability. High-quality adhesive products are always recommended over generic alternatives.
Regularly checking the mount, especially in outdoor installations, helps prevent unexpected loosening.
Removing a Doorbell Without Damage
One of the biggest advantages of a no-drill installation is easy removal. Most adhesive mounts can be removed by gently pulling the adhesive tab or loosening the bond with dental floss or fishing line. Any remaining residue can be cleaned with rubbing alcohol.
This makes no-drill doorbell installation ideal for renters and anyone planning future upgrades.
Final Thoughts
Installing a doorbell without drilling is a practical, clean, and efficient solution for modern homes. With wireless doorbells, smart video options, and reliable adhesive or bracket mounts, you can achieve a secure installation without damaging your walls or doors.
Whether you need a temporary setup or a long-term no-damage solution, these methods provide flexibility, ease of installation, and peace of mind.
